From Hard Hat Stickers to Hoarding Boards
CSDPrint’s guide to setting up new development construction sites
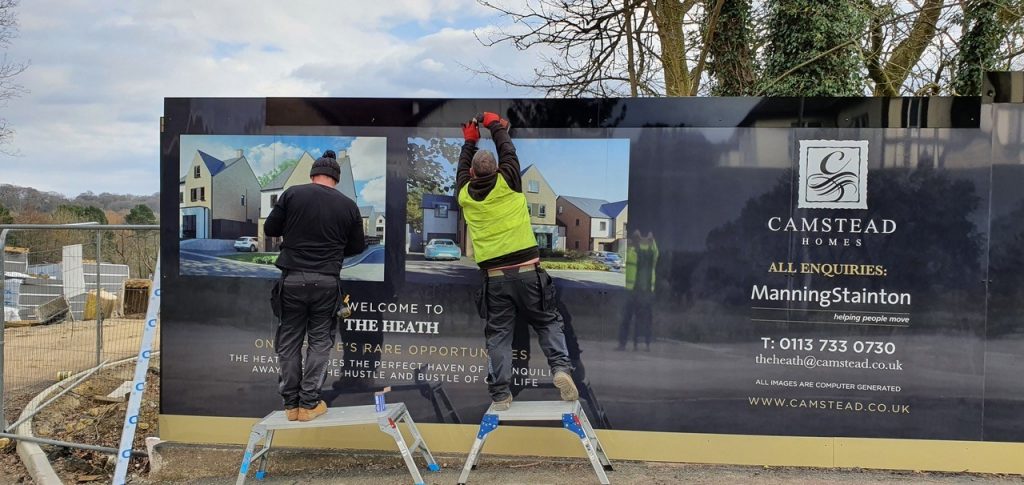
Here at CSDPrint we produce and install hundreds of metres of hoarding boards every year. These are the temporary barriers or fences that are used along the perimeter of construction sites.
Getting them just right is really important because they not only keep passers-by and those people working on the site safe but they provide a fantastic space for advertising a new development.
We’ve been printing and erecting site perimeter hoarding boards for over 30 years, so we’ve learned a lot about what works and what doesn’t. If you want to save yourself a lot of time, money and unnecessary hassle, then we’d love to help. This article will hopefully give you some ideas that you will find useful for your next development.
Please get in touch if you’d like to chat through suggestions for your next project. Ask for Gail or Stephen on freephone 0800 840 2403
Where to start?
Before getting on the phone to order your new development hoardings it might be an idea to take a few minutes to check the relevant regulations.
Do you know the latest building site hoarding regulations?
Click on the link to read them in detail Construction site safety regulations or see our summary below:
Essentially they are designed to:
-
-
- Protect the public. When you are completing your Health & Safety assessment of the next development you will need to identify any risks to the public
- Protect your site workers
- Protect vulnerable groups such the elderly, children and people with disabilities
- And safely manage access to the site. Here are some specific access guidelines
-
Just how big do my construction hoardings need to be?
In our experience the optimum height for hoardings – whether they are for inner city office block refurbishments or a new housing development in the suburbs – is 8ft or 2.44m.
If you are developing in an area that needs higher security, for example near a school or where people may attempt to scale the perimeter, it is advisable to go higher, to 9.8ft or 3m. This additional height can be achieved by adding angled extensions or fans as they are called, or barbed wire fixed to brackets.
As to the length, well you can have hoardings as long as you need! We print onto hoarding panels that are 4ft or 1.22m wide and then connect them to whatever length is needed to enclose your perimeter.
When it comes to planning the configuration remember to include access points such as gates.
It’s always a good idea to speak to the installation team who will be working on your perimeter hoarding, in fact our top tip would be to ask them to measure and plan the entire project for you. That way you’ll be in expert hands and can relax knowing that everything will fit perfectly.
There’s a lot to take into consideration when putting together a temporary development panelling scheme. At CSDPrint we offer a one-stop service where we’ll look after everything for you including on site surveys, measuring, checking gradients, panel designs and layouts, printing and installing, and let’s not forget completing all the Health & Safety requirements i.e. Risk Assessments and Method Statements?
CSDPrint Tip 1: Ask your hoarding supplier to measure and configure your hoarding for you?
What are the best materials to use for temporary fencing?
Timber panels are used to create the base layer and then sheets of a composite aluminium called Dibond is fixed to the timber. This creates a really strong, smooth, hardwearing surface which is perfect for advertising what’s going on behind the scenes.
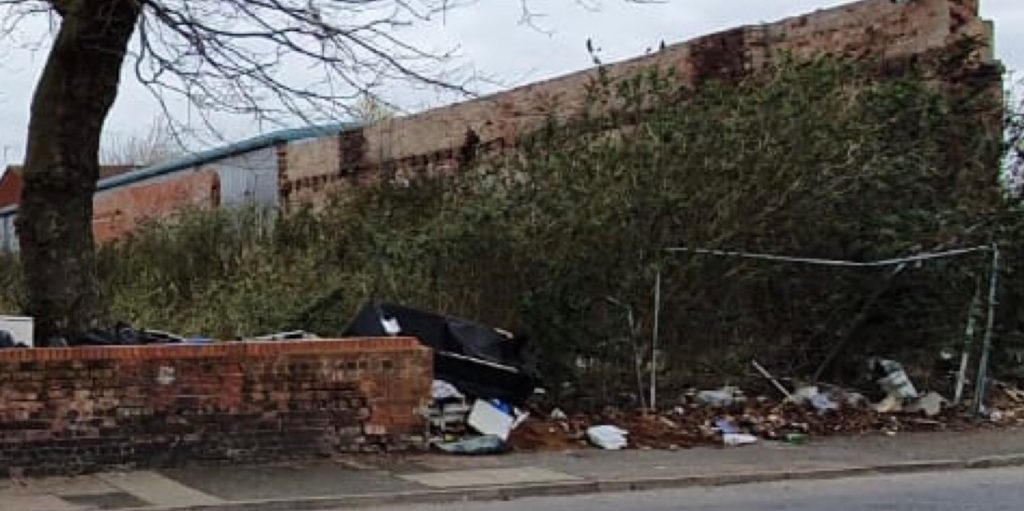
Before
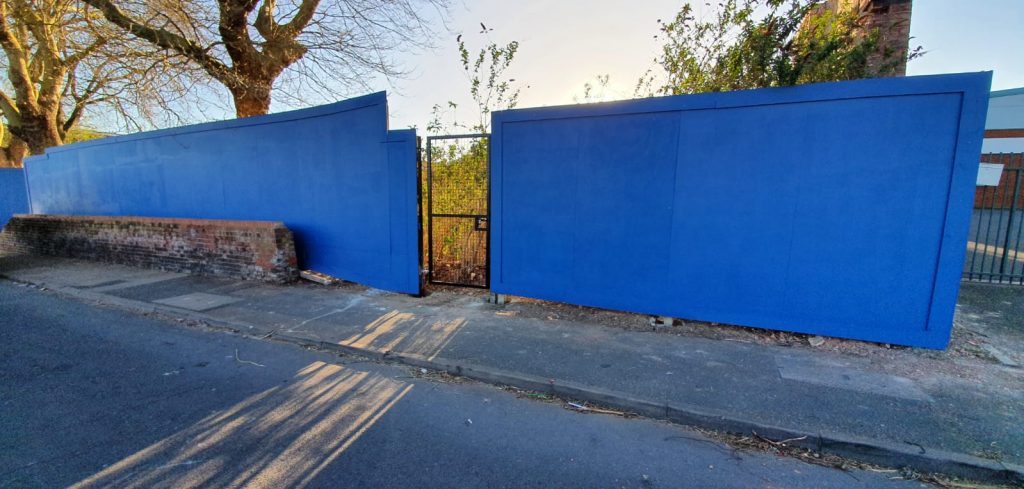
After
Here comes another suggestion…
CSDPrint Tip 2: Be sure to have your artwork prepared by a designer who has lots of hoarding experience
Designing and preparing the artwork needed for hoardings can be tricky because you are usually trying to take into account lots of different variables such as:
- Changes in the gradient of the land your development is on
- How your chosen design will work across all the individual sections
- Where gates and access points will go
- How colours and finishes will work in large format
These are a few of our favourite designs…
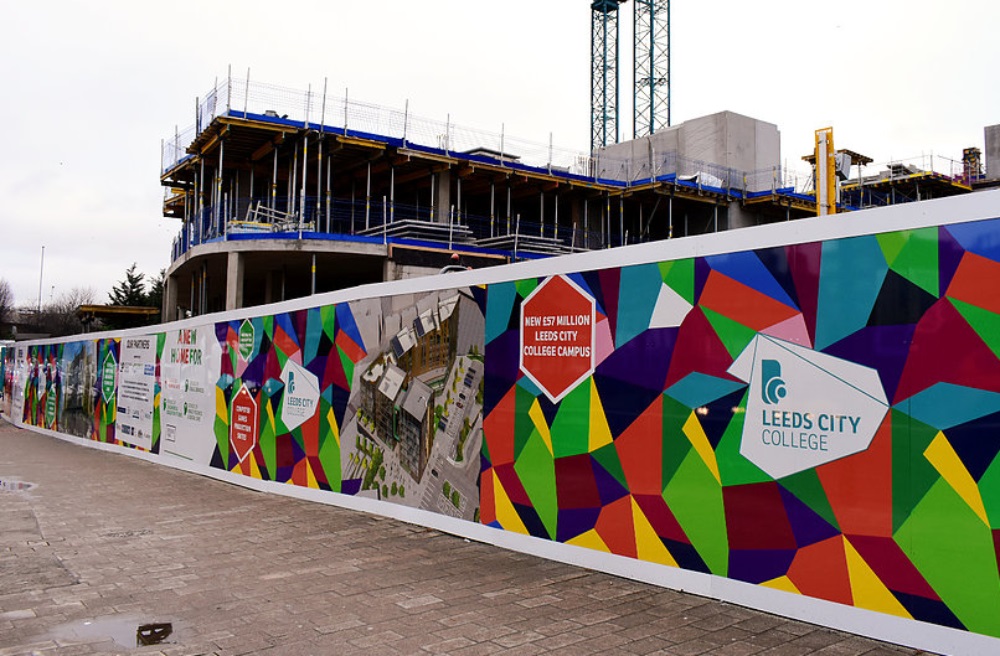
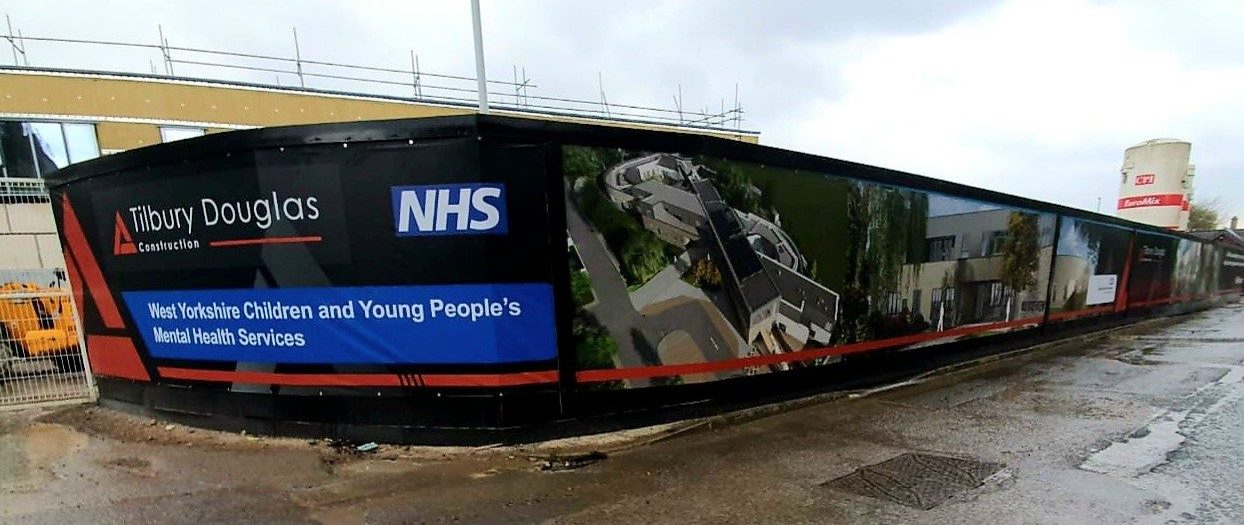
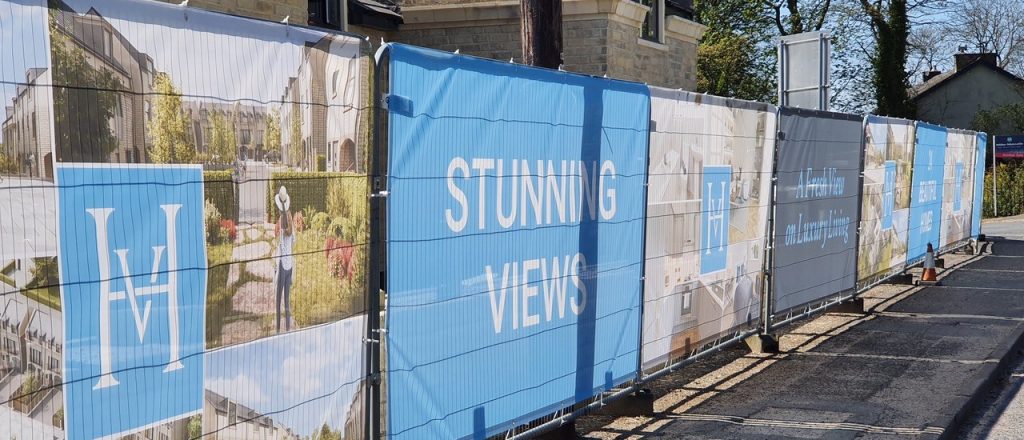
There’s so much more to a new development than just the hoarding boards?
Indeed there is! Once you’ve got your perimeter fencing planned it’s time to think about all the other aspects of the new development that will need identifying and promoting. Here’s a check list to help you plan:
New development signage
- Site entrance and access point signs
- Contractor branding graphics
- Health & Safety infographics and signs
- Directional and parking signage
- Site cabin graphics
- Plant and equipment stickers
- Safety stickers
- Hard hat stickers
- Development advertising boards
- Marketing suite branding and infographics
- Promotional feather flags
Site entrance and access point signs?
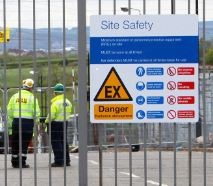
We’ve mentioned that there is a legal requirement to make sure your site’s access is carefully managed. In the first instance this can be achieved by clearly identifying who is permitted access with large, hardwearing signs attached to your entrance gates. We suggest these are produced using weatherproof, durable dibond or correx.
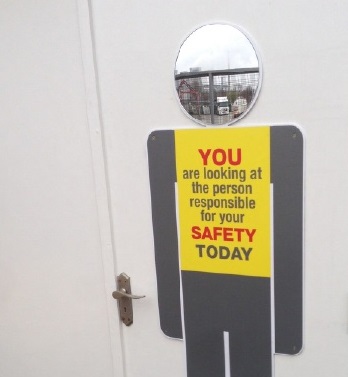
High impact Health and Safety signs also need to be clearly displayed at the entrance to your site spelling out the responsibilities anyone entering the development has. These signs will need to be repeated at key points throughout the development as reminders. We’ve worked with hundreds of construction clients over the years and have produced a huge range of safety signs – everything from industry standard safety signs with minimal text to highly creative info-graphics with lighting and mirrors!
CSDPrint Tip 3: A bit of creativity goes a long way when it comes to making Safety Signs memorable
Have a look at just some of the safety signs we’ve produced here: safety
Site offices and marketing suite signs?
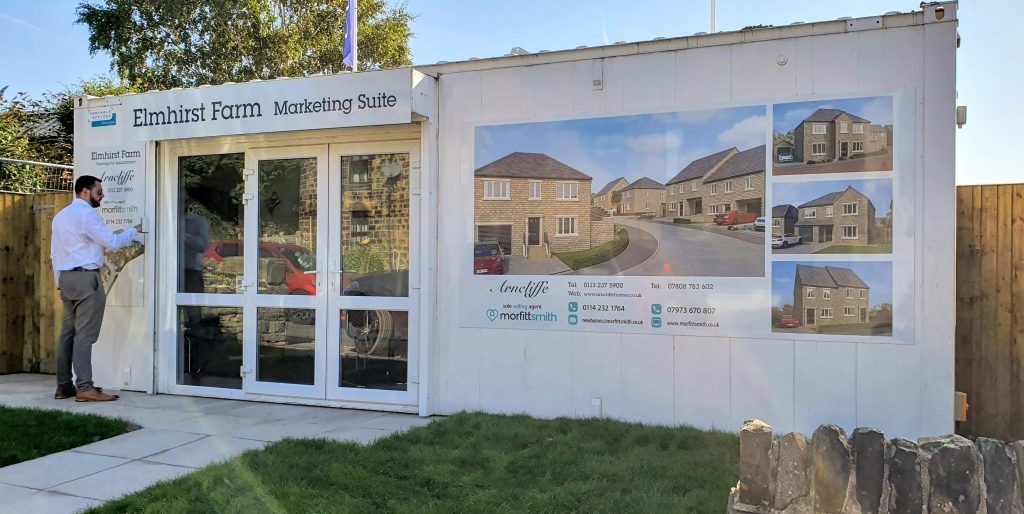
Possibly one of the most important aspects of any new development is the site office or marketing suite, this is where we can really make a difference. We love working closely with our development clients creating great spaces for their teams to work in and to sell from! We’ll listen to exactly what you want to achieve and together we’ll make it happen. CSDPrint design and install eye-catching exterior signs and interior displays – displays that highlight all the benefits of your fabulous new development.
We can completely transform the exterior of even the dreariest site cabins by attaching branded graphics of pretty much any colour or design you like, and when it comes to the interior there’s a huge range of options to help entice your potential customers.
How about…
- Site and wall maps
- Graphics light boxes
- Cut lettering displays
- Acrylic house types
- Materials and finishes displays
- Gable end signs
Which way next?
Once you’ve got your perimeter and site offices in hand, it’s a good idea to mark out the route across the site for staff and customers. CSDPrint uses a range of materials for producing directional signs. For example, we can print onto light, hardwearing Correx that is perfect for smart temporary signs or for semi-permanent and permanent directional signage we use an aluminium composite called Dibond. But there’s lots of other options too…
Here’s just a few more wayfinding-signs
It’s all in the detail
Now it’s time to consider the finishing touches, the little details that show how professional and well thought-out your development is. What about vehicle branding, hard hat stickers and open day merchandise?
These all contribute to the overall impact of your development. Whether you are creating a high-end, stylish environment or something more affordable, be sure to check all signage and graphics are on message.
And here’s our final but essentially most important suggestion…
CSDPrint Tip 4: Pick your design and print team carefully
Some construction companies and developers have their own marketing teams who will pick up and run with a big project like this. However, many others don’t and need to find assistance. It’s not always easy to tell who will be able to give you the help you need, so we’ve put together a short checklist of what to look for:
- Does the company you want to work with have their own design and printing capability? What about an in-house installation team? Using one company for all these aspects means you’ll have accountability and consistency and it will usually be much more cost-effective
- Do they have lots of experience of construction and new development scheme marketing? Ask for examples of projects they have been involved with and ask them to talk you through their approach. Do you like what they’ve done?
- Do they walk the walk? Check all Health & Safety credentials and accreditations
- How do their prices compare? Has the potential responded accurately to your brief? And have they maximised your budget?
We hope you’ve found this guide useful, if you want to chat any aspect of it through in more detail, please do get in touch. We’d love to get involved with your next development.
